Foam Clay
- silvercreekcottage
- Oct 19, 2020
- 3 min read
Have you noticed a recent trend in home decor with clay pieces, a new twist on traditional home decor called “causal modern”? I definitely have and I am here for it but, I’m not here for the cost of some of these decor items to this trendy new style. I have been trying to figure out a way to make these items on my own with easy to use products that are affordable for all budgets.
I’ve made air dry clay rings previously.. you can see those here. The clay was a lot of fun but it’s pretty messy. That’s when it hit me, why not use the everyday items my kids play with like playdough or air dry foam.

That’s right we are making three “clay” projects with just two bags of ‘model magic! (Not sponsored, I’m just obsessed with this product).
The first two projects came from one bag. I started by making, as evenly as possible 29 balls aka beads.

These beads are about an inch in size. Once I had all my balls made I set aside 10, then with a wooden skewer I poked a hole all the way through the remaining “beads”.

Next I painted all of the balls and beads white. then set the beads aside and focused one project at a time, the project I focused on first is a piece I like to call an accent decor or shelf piece. Here is how I made it. I bought a .97 cent craft plaque

then went to a hardware store and got a wooden dowel, and decorative block, I’m sure it has a more professional name but, I have no clue what it’s called.


I started (and by I, I mean the hubby).. cutting the circle plaque into a horseshoe shape.
Then we drilled a hole into the center of the decorative block. That’s where we used wood glue and glued the wooden dowel into the block, then we used wood glue again and glued the horseshoe shape the hubby cut out to the top of the dowel. We ended up with this.

I ended up spray painting the whole thing a brass/gold color. Next I hot glued 10 of those foam clay balls we set aside onto it. this is how it turned out.

Now on to those beads we set aside. I took some twine from the dollar store and strung them. at the end of the strung beads I added a twine tassel.

This was it for the second project. An easy inexpensive way to add some texture to my shelves and this was cheaper than wooden beads.
For the last project, I wanted to attempt to make some “stone” knots. Another good shelf or coffee table item. For this I used a whole bag, I probably could have made these a bit larger and used two bags but, all we had at home was the two I used for all three projects. So, I just went with it. I started by rolling out the foam.

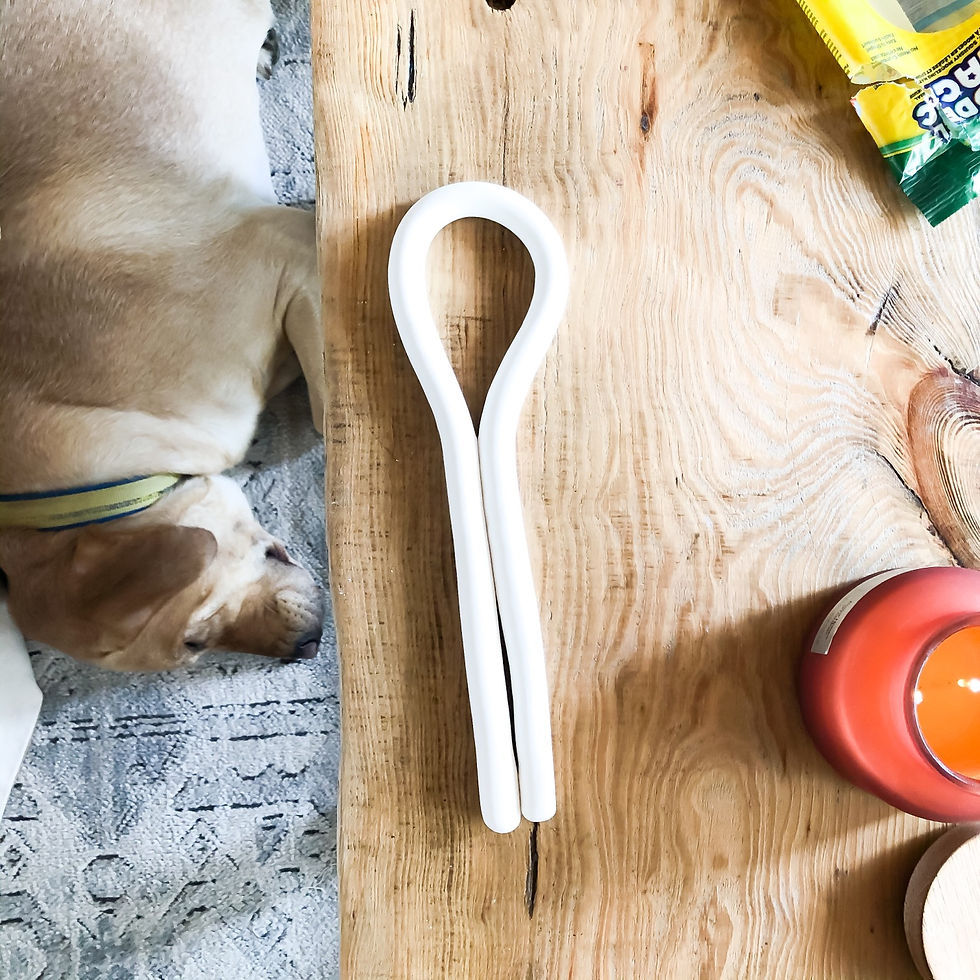
Once I had the thickness and length I wanted I folded the rolled out foam into two, and as evenly as possible leaving a loop at the top like this. The bottom end pieces I did press together.

Next it was time to tie my knot. Again it’s important to not let the foam touch as you do your knot because, this stuff really sticks to itself. I ended up with a knot like this. I also spray painted this knot with a sand colored paint and love how it looks like real stone.


Comments